
Publishing Your Blog Posts: A Step-by-Step Guide for Beginners
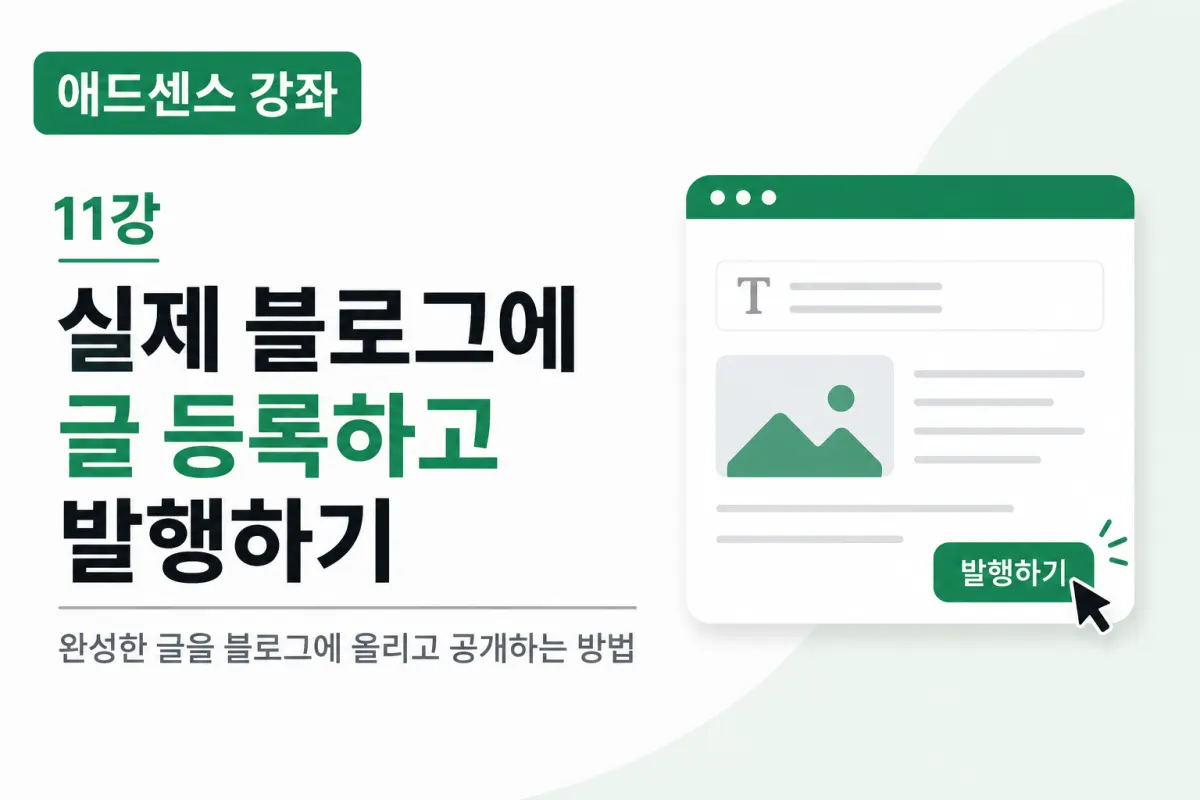
Now Let's Publish Your First Post
Writing a blog post and publishing it involve different steps.
Many beginners write their content and immediately click the publish button.
However, checking a few key elements before publishing can significantly improve your blog's quality.
Great content is complete after final review.
First, Check Your Title
The title is the first thing visitors see.
If it's too long or hard to understand, click-through rates may drop.
A good title should be
Clear about what the post covers,
Natural and readable,
Incorporate relevant search keywords.
You don't need to force multiple keyword repetitions.
The best titles are those people find easy to read.
Also Check Your URL
When you publish a post in WordPress, the URL is automatically generated.
It's better to use short, clear addresses when possible.
For example:
https://example.com/adsense-approval
A URL that includes the main content is preferable.
If your automatically generated URL is long, consider editing it before publishing.
Select Categories Accurately
When publishing a post, double-check its category selection.
For example:
If the post is about AdSense,
it should be categorized under "AdSense,"
and if it's about WordPress installation,
it should go in the "WordPress" category.
Correct categorization helps visitors find what they're looking for more easily.
Add a Featured Image
Featured images often appear in search results and on social media.
Use an image relevant to your post's content.
A good featured image should be:
Not too cluttered,
Show the title clearly,
High quality.
This is a crucial factor in making a strong first impression on your blog.
Check for Broken Formatting
When copying and pasting content,
line breaks might become odd or text may appear broken.
Use the preview feature before publishing to check for these issues.
Also verify how it looks on mobile devices.
Image Placement Matters
Instead of stacking all images in one place,
place them naturally within the text where they relate to the content.
For example:
When explaining installation steps, include installation screenshots,
and when describing settings, use settings screenshots for better understanding.
Add Internal Links
As your blog grows,
connecting related posts helps improve user experience.
For example:
If this post discusses "WordPress installation,"
you can link to a previous post about the same topic in Lesson 3.
Internal links increase visitor dwell time and help search engines understand your site structure better.
Double-Check Spelling and Punctuation
It's common to make mistakes when writing.
Before publishing, review:
Spelling,
Punctuation,
Typographical errors,
Redundant sentences.
Small corrections can significantly boost your post's credibility.
Is Publishing Time Important?
If your main goal is AdSense approval,
publishing time isn't crucial.
The most important thing is to consistently write posts.
In the beginning, it's helpful to establish a regular publishing schedule.
Publishing Isn't the End
After publishing,
Check if images display properly,
Verify all links work correctly,
Ensure mobile compatibility,
Read through to confirm natural flow.
A final check makes your content much more polished.
You Can Edit After Publishing
You don't need to create perfect posts from the start.
In fact, it's normal to later improve content,
add images,
and correct typos over time.
Search engines often positively evaluate consistently maintained content.
Common Beginner Mistakes
Here are common mistakes beginners make when publishing:
Skipping title checks.
Forgetting to add a featured image.
Selecting incorrect categories.
Publishing with broken line breaks.
Omitting spelling and grammar review.
Not checking mobile display.
Focusing on these areas can make a big difference in your blog's quality.
You're Almost Ready for AdSense Approval
So far, you've:
Built your blog,
Written posts,
Added images,
Publishing them successfully.
Now all that remains is to prepare sufficient content before applying for AdSense.
What's Next in the Series?
A common question many beginners ask:
"How many posts should I write before applying for AdSense approval?"
In the next lesson, we'll discuss how many posts to prepare and when to apply based on real examples.
Key Takeaways from This Lesson
Here's a quick summary of what you've learned:
Check titles and URLs before publishing.
Select categories accurately.
Add featured images to every post.
Preview on both desktop and mobile devices.
Review spelling and typos one last time.
Continuously update and improve posts after publishing.
Great content isn't complete when you click 'publish'—it evolves through ongoing maintenance and improvement.
In the next lesson, we'll cover exactly how many posts to prepare before applying for AdSense approval and the best time to apply based on real examples.
FAQ
Should I publish my blog posts immediately after writing them?
No, it's important to check titles, URLs, categories, mobile display, and spelling before publishing to ensure quality.
How many posts do I need for AdSense approval?
The exact number varies, but the next lesson will discuss how many posts to prepare based on real examples.
Korean Source
This article is an English localization of a Korean-language report from BlogScore. Original: [블로그 자동화] 11강. 실제 블로그에 글 등록하고 발행하기