
Proof Photo Printing vs. Developing: Key Differences and Home Tips
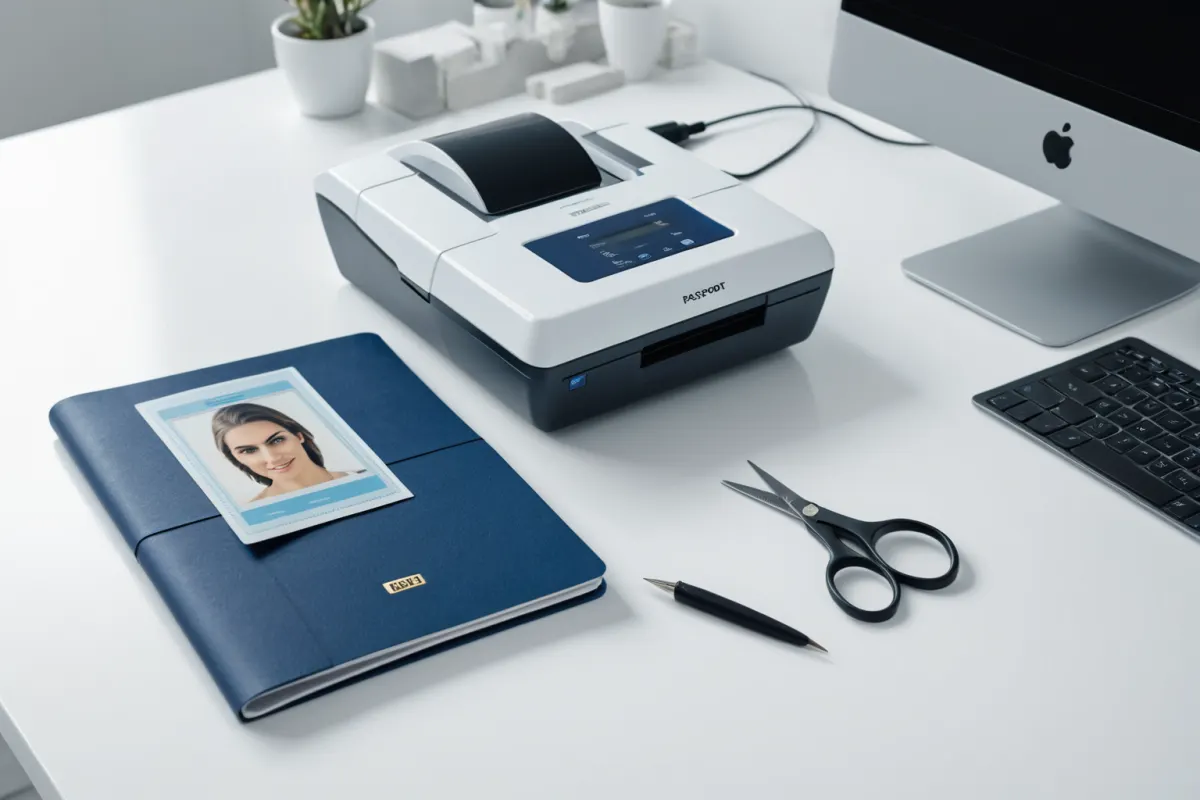
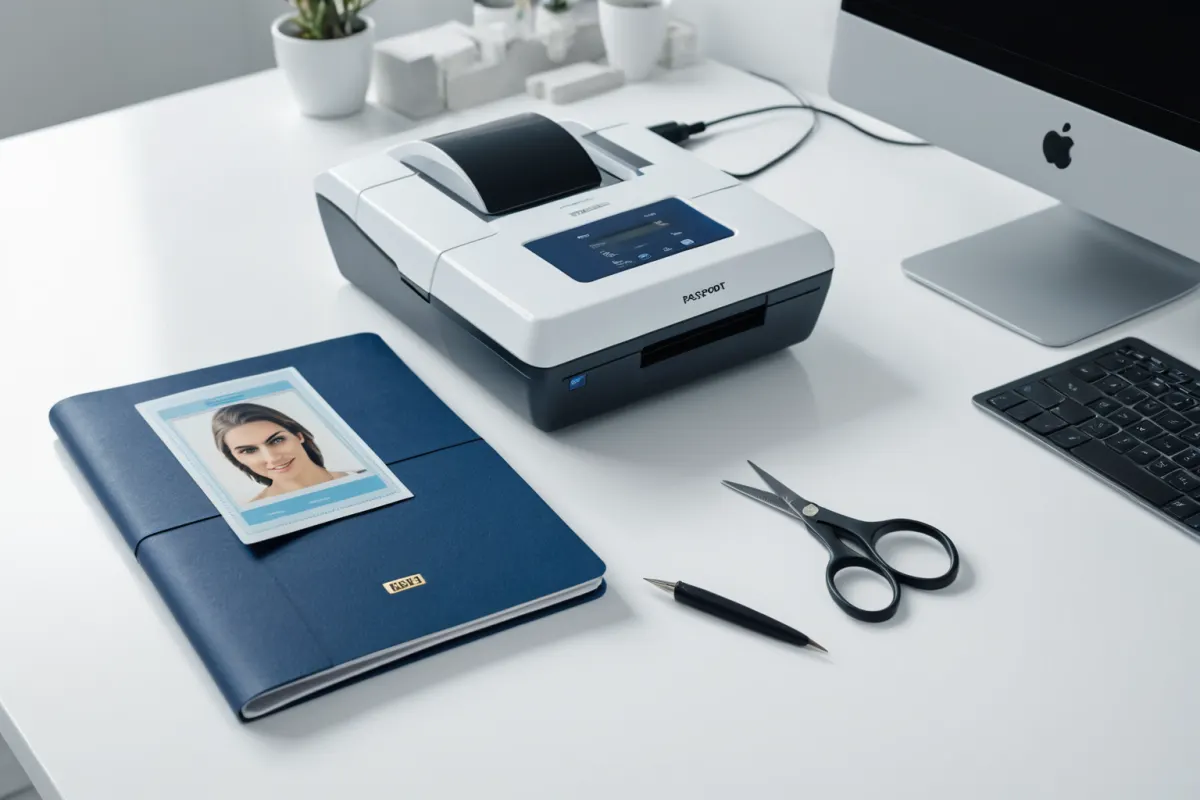
When preparing proof photos, one of the most confusing aspects is understanding the difference between developing and printing. The results from a photo studio versus what you can print at home feel quite different, so choosing the right method based on your needs is crucial. Especially for submissions like driver's license photo changes, passport applications, or online passport photos, it’s important to be extra careful.
This article breaks down the difference between proof photo developing and printing in an easy-to-understand way for beginners. Based on my own experience at home, I’ll share what made things convenient and where mistakes are commonly made. Keep in mind that specific requirements can vary by institution, so always double-check official websites before submitting.
What's the Difference Between Proof Photo Developing and Printing?
Proof photo developing typically involves transferring a finished image onto photo paper using chemical processes or professional equipment. The result is natural color tones and stable paper texture, similar to what you’d get from a photo studio. In contrast, printing uses home printers or office equipment to print images directly onto paper, which means quality can vary significantly based on the device and paper used.
In simple terms, developing feels more like a photo, while printing is closer to a document task. For photos that need to be stored long-term or require clean results for submission, developing often works better. On the other hand, if you need multiple copies quickly or want to test things at home, printing can be more convenient. However, for cases where specifications matter—like passport photo sizes, clothing rules, or background standards—the final output must be sharp, so checking your equipment is essential.
Key Standards to Check Before Making Proof Photos at Home
The first thing you should do when preparing photos at home is verify the required size. Depending on the purpose, specifications for face size, background color, and margins can differ significantly. For example, passport photo submissions often have stricter requirements regarding facial positioning or background conditions, so a standard proof photo might not be suitable.
Next, assess your original photo quality. If the face is too dark or the background is cluttered, it will be hard to improve through developing or printing. Whenever possible, choose photos taken in bright natural light with a clear front-facing view and a solid-colored background. This simple step can significantly boost the quality of your homemade proof photos.
Easy Step-by-Step Guide for Beginners
Start by selecting your photo, then adjust its size using your phone or editing software. For online submissions like passport photos, it’s crucial to match the pixel dimensions and aspect ratio required by the institution. Avoid cropping too much or moving the face off-center—check a preview before finalizing.
Next, adjust background and brightness for clarity. Your facial features should be clearly visible without harsh shadows. After that, set your paper settings and do a test print first. Instead of printing multiple copies right away, start with one to avoid wasting paper.
For example, if you need photos for a driver’s license change, check that the face isn’t too small and that ears or jawlines aren’t cut off. If you’re not happy with the result, you can easily recreate it using the same settings. However, keep in mind that government offices may have different review standards, so always confirm requirements on their official site before submitting.
When to Choose Developing vs. Printing
Developing is better when photo quality matters most. It offers natural color tones and consistent paper texture for a stable result. This makes it ideal if you want that classic photo studio look or need photos for long-term storage. While developing may cost slightly more, it’s worth it for those who prioritize reliability.
Printing is preferable when speed and convenience are key. If you need photos right away or want to experiment with multiple versions by making small adjustments, printing works well. You can tweak the same file until you get the perfect look. Just be sure to check your printer settings—using regular paper might lead to dull colors or poor clarity. Always select photo paper mode and set quality to high if possible.
Common Mistakes Beginners Make
The most common mistake is jumping straight into making photos without checking the size requirements first. Passport photo sizes, submission ratios, and other specifications often have detailed rules you need to follow before editing your image. Another frequent error is over-editing backgrounds, which can cause discrepancies between the edited photo and reality, leading to rejected submissions.
Another mistake is using default printer settings without adjusting them. Printing on regular paper may result in muddy colors or low clarity. Always choose photo paper mode and set quality as high as possible. Finally, don’t cut your prints right away—double-check edge alignment and facial position before trimming to avoid wasting paper.
My Personal Experience: Pros and Cons of Making Photos at Home
The biggest advantage of making photos at home is speed and flexibility. If you’re not happy with the result, you can retake the photo or make edits without having to go back to a studio. This is especially helpful for online passport submissions where you need to submit files digitally first.
On the downside, results depend heavily on your equipment. With good paper and a quality printer, the outcome will be excellent, but poor tools may lead to mismatched skin tones or backgrounds. It’s best to start with a test print to check quality before making final copies.
In Summary: Choose Based on Your Needs
Developing and printing might seem similar, but they deliver different results and levels of reliability. Developing gives you that photo studio finish, while printing is great for quick experimentation. For submissions, focus on matching specifications and quality rather than just convenience.
If you’re new to this, start by checking the required size, preparing a well-lit original photo, and making one test print before proceeding. Since requirements vary depending on purpose—like passport applications, driver’s license changes, or online submissions—it’s always best to confirm final details with official websites.
Frequently Asked Questions
Q1. Can I submit photos made at home directly?
A1. It depends. Some institutions accept them, but requirements vary, so check the official guidelines before submitting.
Q2. Which method produces a cleaner result: developing or printing?
A2. Generally, developing offers more consistent results. However, with high-quality printers and paper, printing can also look great.
Q3. Can I use any photo for online passport submissions?
A3. No. Resolution, facial positioning, and background conditions matter. Always check the latest requirements on official sites.
FAQ
Can I submit photos made at home directly?
It depends. Some institutions accept them, but requirements vary, so check the official guidelines before submitting.
Which method produces a cleaner result: developing or printing?
Generally, developing offers more consistent results. However, with high-quality printers and paper, printing can also look great.
Can I use any photo for online passport submissions?
No. Resolution, facial positioning, and background conditions matter. Always check the latest requirements on official sites.
Korean Source
This article is an English localization of a Korean-language report from BlogScore. Original: 증명사진 인화와 출력 방법 차이, 집에서 하는 후기와 추천