
Managing Operational Projects with Git and Cloning to AI Development Server in the AI Development Environment Setup Project

AI Development Environment Setup Project - Lesson 4
Managing Operational Projects with Git and Cloning to AI Development Server
Last time, we set up a Forgejo Git server using Docker.
Now that the Git server is ready, let's manage an actual operational project using Git.
In this lesson, we'll register the currently running PohangInfo Project in a Git repository and clone it to the AI development server so that Claude Code can work on the development environment going forward.
By the end of this lesson, you'll have a fully separated and secure development environment between the operational server and the AI development server.
Current Project Structure
Here's how my current development environment is set up:
Operational Server
192.168.0.5

Project Location
/home/pohanginfo
The Git server operates separately from the AI development server.
AI Development Server
192.168.0.33

Forgejo
http://192.168.0.33:3000
From now on, development will proceed in the following structure:
Operational Server
192.168.0.5

↓

Git Push

↓

Forgejo

↓

Git Clone

↓

AI Development Server
192.168.0.33

↓

Claude Code Development
Why Separate Operational and Development Servers?
In the past, developers often made direct code changes on operational servers.
However, in an environment where AI directly modifies projects, working directly on the operational server is very risky.
If Claude Code accidentally modifies or deletes a critical file, it could lead to service outages.
Therefore, this project separates the operational and AI development servers completely.
The operational server will only provide services,
and the AI development server will allow free modifications and testing before reflecting changes back to the operational server via Git.
What We'll Cover in This Lesson
In this session, we'll cover:
Create a Forgejo repository
Register the operational project with Git
Make the first commit
Push to Forgejo
Clone on AI development server
Verify the project
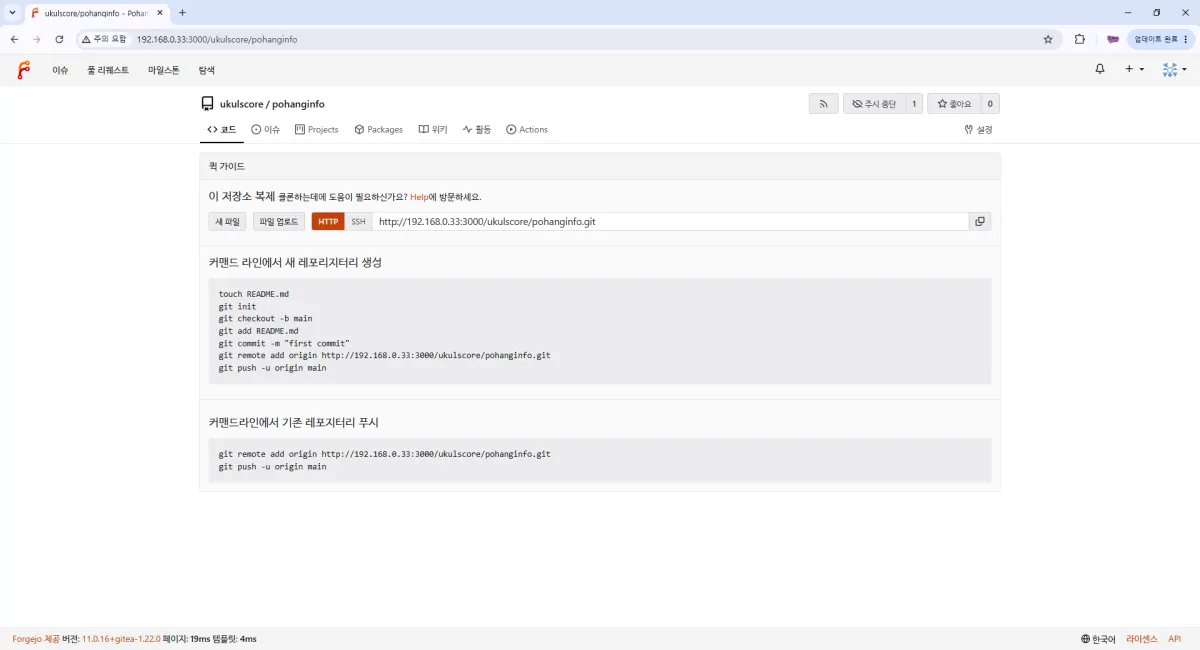
Create a Forgejo Repository
First, log in to Forgejo.
Click the New Repository button at the top.
This time, we'll create a repository named:
pohanginfoWe recommend creating the repository as Private.
Connect to the Operational Server
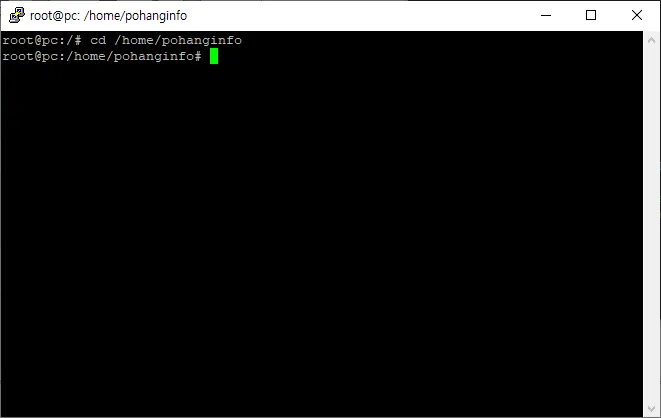
Now, connect to the operational server where the project is located.
ssh user@192.168.0.5After logging in, navigate to the project folder:
cd /home/pohanginfoYou can adjust this path based on your environment.
Initialize Git
Create a repository to manage the project with Git:
git initIf successful, you'll see:
Initialized empty Git repository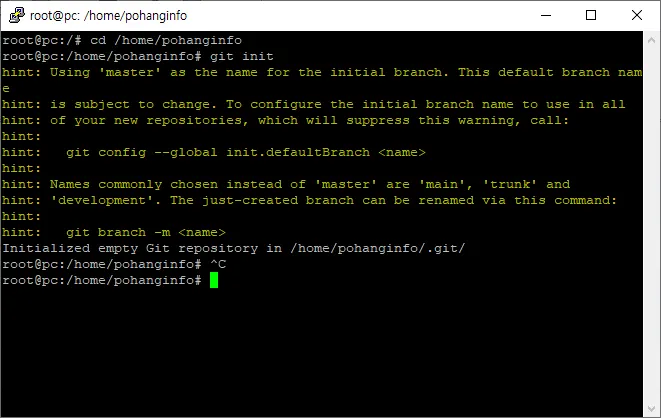
Register Git User
If this is the first time using Git on the server, register your user information:
git config --global user.name "Aslai"

git config --global user.email "admin@example.com"
This step only needs to be done once.
Create .gitignore
Not all files in a Node.js project need to be managed by Git:
nano .gitignoreAdd the following content (adjust based on your environment):
node_modules/
.env
logs/
npm-debug.log
*.log
coverage/
First Commit
Add all files to Git:
git add .Check the status:
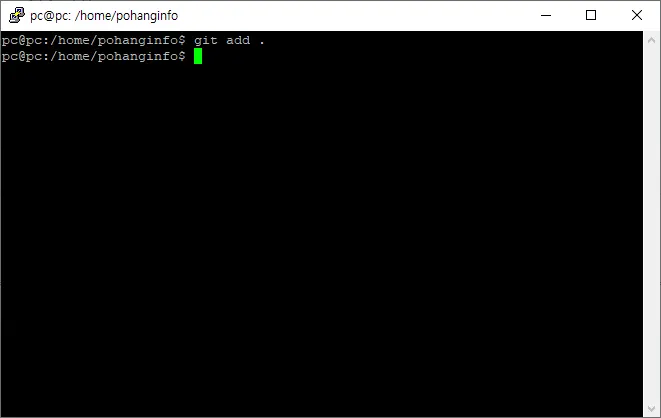
git statusMake the commit:
git commit -m "Initial Commit"Your first project version is now saved.
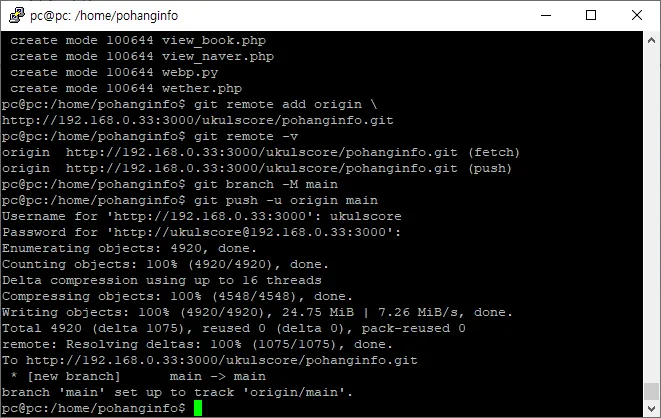
Connect to Forgejo Repository
Link the created repository:
git remote add origin \
http://192.168.0.33:3000/username/pohanginfo.git
Verify the connection:
git remote -vIf successful, you'll see:
origin
http://192.168.0.33:3000/username/pohanginfo.git
First Push
Now, upload to the Forgejo server:
git branch -M mainThen:
git push -u origin mainThe first push will ask for your Forgejo account and password.
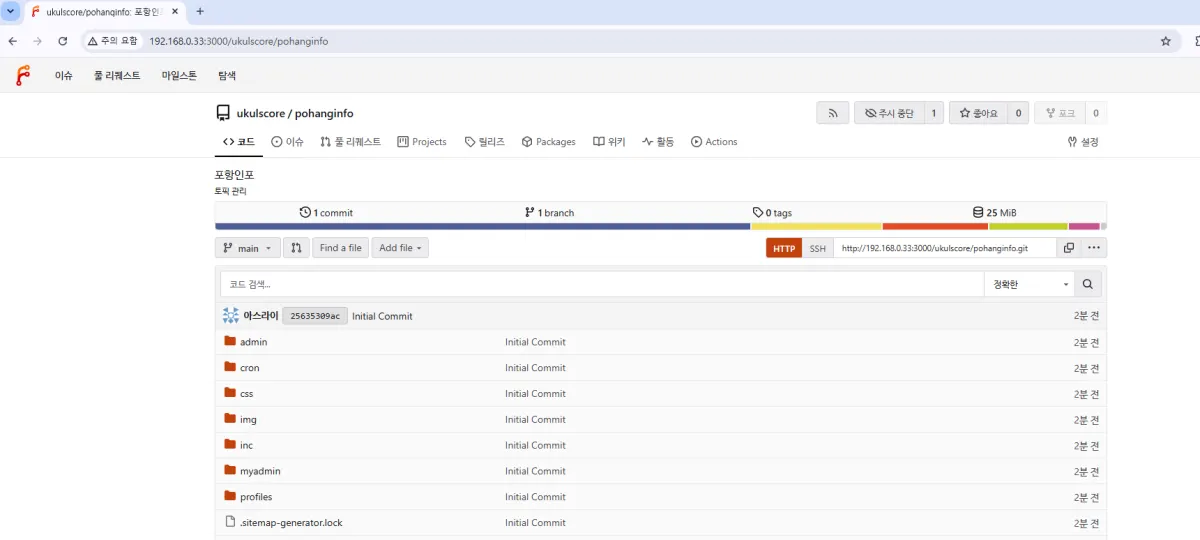
After upload, refresh the browser to see all project files in the repository.
Prepare AI Development Server
Now, prepare the AI development server for use with Claude Code.
Connect to the AI development server:
ssh user@192.168.0.33Create a folder for the project:
sudo mkdir -p /home/projectsNavigate to it and set ownership:
cd /home/projects
sudo chown -R pc:pc /home/projects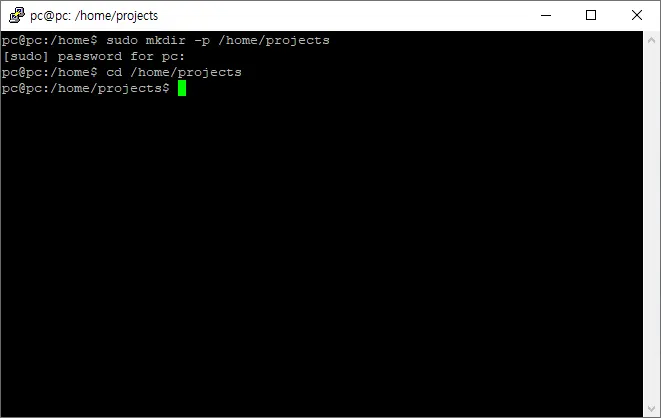
Git Clone
Clone the project from Forgejo:
git clone \
http://192.168.0.33:3000/username/pohanginfo.git
After a moment, the folder will be created:
/home/projects/pohanginfoThis is where Claude Code will work on the project going forward.
Verify the Project
Navigate to the folder:
cd /home/projects/pohanginfoList the files:
lsYou'll see that the project has been copied exactly as on the operational server.
From now on, you can freely modify and test on the AI development server.
Future Development Process
Going forward, development will follow this flow:
Operational Server

↓

Git Push

↓

Forgejo

↓

AI Development Server Clone

↓

Claude Code Modification

↓

Git Commit

↓

Git Push

↓

Operational Server Pull

↓

Service Update
The operational server will always remain stable,
and all development will occur on the AI development server.
This structure is the safest way to develop in the AI era.
Benefits of Using Git
Using Git offers several advantages:
Change history management
Recovery from previous versions
Separation between operational and development servers
Integration with Claude Code
Secure version control
Managing multiple projects simultaneously
With Git, you can always revert to a previous state if Claude Code modifies the project.
Summary of This Lesson
In this lesson, we registered the operational PohangInfo project in Git, pushed it to Forgejo, and cloned it to the AI development server.
The operational server will now only provide services,
and actual development will occur on the AI development server.
This environment allows for much safer AI-driven development with Claude Code and MCP.
Next Lesson Preview
AI Development Environment Setup Project - Lesson 5
Setting Up SSH Keys for Passwordless Git Access
In the next session, we'll create an SSH key, register it with Forgejo, and set up a passwordless Git environment.
We'll cover:
Generating an SSH key
Registering the public key
Testing SSH connections
Comparing HTTPS and SSH methods
Passwordless Git Push
Preparing Claude Code's Git environment
FAQ
Why separate operational and development servers?
Separating servers prevents direct modifications on the operational server, reducing the risk of service outages if AI makes errors.
What is Forgejo?
Forgejo is a self-hosted Git platform similar to GitHub, used for managing code repositories within an organization.
Korean Source
This article is an English localization of a Korean-language report from BlogScore. Original: [AI 개발환경 구축 프로젝트] 4강 운영 프로젝트를 Git으로 관리하고 AI 개발 서버에 Clone 하기