
Creating a Password Reset Feature in Your App | Vibecoding Tutorial
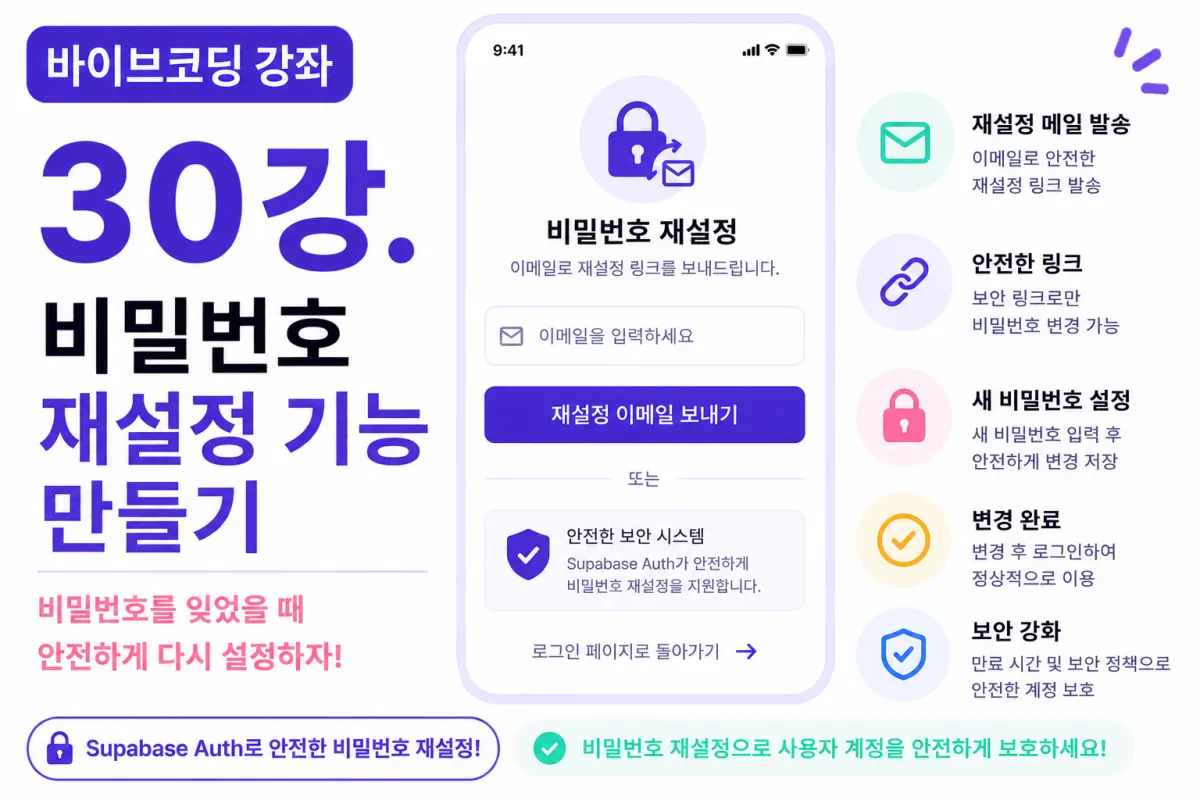
What You'll Learn in This Lesson
So far, we've implemented:
User registration
Login functionality
Logout feature
Email verification
In this lesson, we'll implement the final authentication feature: Password Reset (Password Reset).
Users frequently forget their passwords in real applications, making a secure password reset function essential.
This lesson will cover:
Password recovery screen
Sending reset emails
Password change screen
Storing new passwords
Error handling
Once completed, your user authentication system will be fully functional.
Never Send Passwords Directly
This is a common misunderstanding among beginner developers.
Your service cannot know the user's current password because passwords are stored encrypted.
Therefore, you should never implement a feature that says:
"Send me your current password via email."
The correct approach is to let users set a new password instead.
Creating the Password Recovery Link
Add this link to your login screen:
Password forgotten?
When clicked, it will redirect users to the password reset page.
Requesting Help from Cursor AI
First, ask Cursor AI for help with this request:
Implement password reset functionality using Supabase Auth.

Send a reset email and allow users to enter a new password.
The AI will generate the necessary screens and code.
Password Reset Screen
The reset screen only requires an email input:
Email field
Send reset email button
We'll keep the interface as simple as possible.
Email Validation
Before sending a reset email, validate the email format:
Empty field
Invalid email format
Don't send requests to the server for invalid inputs. First, display an error message.
Sending the Reset Email
When users click the button, Supabase will send a password reset email containing a link to set a new password.
Displaying Confirmation Messages
After sending the email, show this message:
Password reset email sent.

Please check your inbox.
Then guide users to check their email.
What If Users Don't Receive the Email?
If users can't find the email, include these tips:
Check spam folder
Check promotions folder
Verify email address
This is standard practice in real applications.
New Password Entry
When users click the link in the email, they'll see a screen to enter their new password:
New password field
Confirm new password field
We'll use just these two fields.
Password Requirements Check
The new password must follow the same rules as during registration:
Minimum 8 characters
No overly simple passwords
Maintaining consistent security standards is recommended.
Password Confirmation
We'll ask users to enter the new password twice and verify they match. If not, we won't proceed with the change.
This prevents accidental input errors.
Completion Message
After a successful reset, display this message:
Password changed successfully.

Please log in again.
Then redirect users to the login screen.
Login Testing
Try logging in with the new password. The old password should no longer work, and only the new one should allow access.
Improving with Cursor AI
After completing the feature, ask AI:
Improve the password reset functionality.
The AI will suggest improvements like:
Code cleanup
Error handling enhancements
Better user guidance
Additional Security Features (For Production)
In real applications, you'd also implement:
Reset link expiration time
Limits on reset requests
CAPTCHA protection
Logging login history
This tutorial covers only the basic implementation.
Your Authentication System Is Complete!
After this lesson, users will be able to:
Register an account
Verify email
Login
Logout
Reset passwords
You've now built a complete authentication system used in real applications.
GitHub Commit Message
When the feature is complete, ask Cursor AI for:
Write a commit message appropriate for implementing password reset functionality.
This helps maintain clean project management by tracking features in commits.
Next Features to Implement
Your user system is now complete. Next, we'll create:
User profiles where users can upload photos, set nicknames, and write bios—making your app feel like a real dating application.
Next Lesson Preview
The next lesson will cover building the profile registration screen. We'll implement a screen for users to input their photo, nickname, and bio, then connect it to Supabase Database to store real profile information.
Conclusion
In this lesson, we implemented a password reset feature using Supabase Auth. We covered sending reset emails, setting new passwords, and testing the login functionality to complete our user authentication system.
Starting with the next lesson, we'll develop profile features to build out your dating app functionality step by step.
FAQ
Why shouldn't I send passwords via email?
Passwords are stored encrypted, so sending them directly would be a security risk. The correct approach is to let users set new passwords.
What happens if the user doesn't receive the reset email?
Include instructions to check spam/promotions folders and verify their email address. This is standard practice in real applications.
Korean Source
This article is an English localization of a Korean-language report from BlogScore. Original: [바이브코딩 강좌] 30강. 비밀번호 재설정 기능 만들기