
Building a Login System with Supabase in Next.js and Tailwind CSS
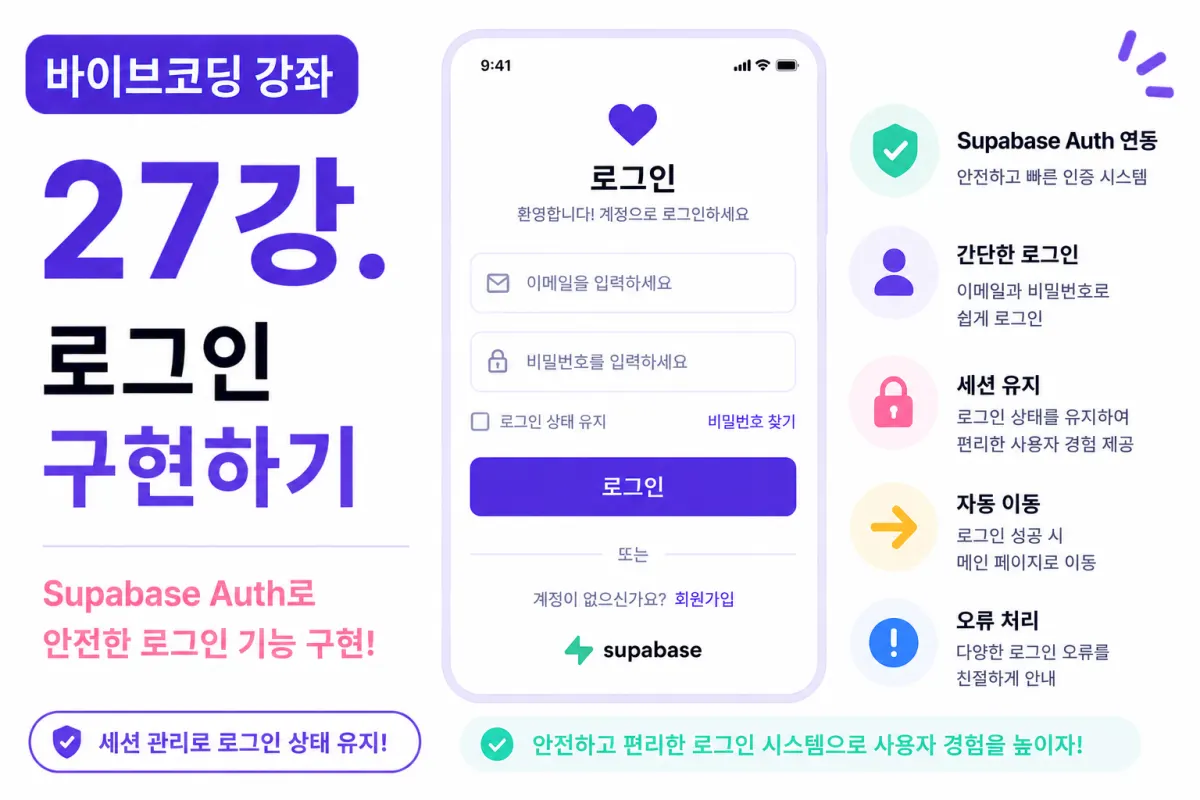
What You'll Learn in This Lesson
Last lesson covered implementing the sign-up feature.
Now users can create accounts,
but they still can't use the service yet.
To access the service, users need to log in with their created account.
In this lesson, we'll implement these features together:
Creating a login screen
Connecting to Supabase authentication
Handling successful logins
Handling failed logins
Generating sessions
Maintaining login state
This is where actual user authentication begins.
Why Is Login Important?
While sign-up happens once,
login occurs every time users access the service.
Therefore, a login screen should be:
Fast
Simplified
Minimizing errors
A well-designed login screen builds user trust.
Designing the Login Screen
In this project, we'll include only these elements:
Email input field
Password input field
Login button
Link to sign-up page
Link for password recovery
We'll minimize unnecessary elements.
Requesting Help from Cursor AI
First, we ask Cursor AI to create a login page with the following request:
Use Next.js and Tailwind CSS to create a login page.

Structure it for connection with Supabase Auth.
The AI suggests both UI and basic logic for the login system.
Creating the Login Function
When the login button is clicked,
we call Supabase Auth's login API.
We need two values:
Email address
Password
This is much simpler than sign-up.
Validating Input Values
Before logging in, we need to validate inputs:
Email field empty?
Password entered?
Handling these errors before sending requests improves user experience.
Successful Login
After successful login,
users are redirected to the home screen,
e.g.,
/home
or
/dashboard
We'll redirect to the home screen in this project.
Failed Login Scenarios
Login fails when:
Email doesn't exist
Incorrect password
Email not verified
Instead of technical errors,
Please check your email or password.
We'll show this friendly message to users.
What Is a Session?
After successful login,
Supabase creates a session
storing information that the user is logged in.
This allows maintaining login state when navigating between pages.
Automatic Login
Users don't want to log in every time they open the app.
Since Supabase Auth stores sessions by default,
automatic login is easy to implement.
This significantly improves user experience.
Checking Login Status
When the app starts, we must check if a user is logged in.
For example, asking Cursor AI:
Create code to check if a user is currently logged in.
The AI generates session verification code.
Creating Protected Pages
Unauthenticated users shouldn't access:
chat,
matching,
profile
pages.
So we check login status first.
If not logged in, automatically redirect to the login page.
Retrieving User Information After Login
After successful login,
we can retrieve current user information:
Email address
User ID
This data will be used later for profile creation.
Loading State Handling
After clicking the login button,
we disable the button while waiting for response.
Displaying "Logging in..." helps users understand current status.
About Remember Me Feature?
Many login screens include a "Remember me" checkbox,
but Supabase maintains sessions by default.
So we won't implement a separate "Remember me" feature in this project.
Improving with Cursor AI
After completing login, ask AI to:
Refactor the login code.
The AI suggests improvements like:
Function separation
Error handling
Improved readability
Testing the Login Functionality
Now, test with a registered account:
Successful login
Home screen redirection
Session creation
Maintaining login after refresh
If all work correctly,
the authentication system is functioning properly.
GitHub Commit Message
After completing the login feature,
ask Cursor AI to:
Create a commit message for the login implementation.
Creating commit messages after each small feature improves project management.
What Would Be Added in Production?
In actual services,
we'd also implement:
Google login
Kakao login
Apple login
Github login
But for this project,
we'll focus first on completing email-based login.
Login and Sign-Up Complete
Now users can:
sign up,
and log in.
This completes the most important authentication system for the service.
From now on, we'll develop features accessible only to logged-in users.
Next Lesson Preview
In the next lesson,
we'll implement logout functionality:
securely logging out,
ending sessions,
and redirecting to the login screen.
Conclusion
This lesson implemented a login system using Supabase Auth.
We covered email/password authentication,
handling successful and failed logins,
session creation, and maintaining login state – core features used in real services.
In the next lesson, we'll complete the user authentication system by implementing logout functionality.
FAQ
What is Supabase Auth?
Supabase Auth is a backend service that handles authentication, including email/password login, session management, and user data storage.
Why not implement 'Remember Me' feature?
Supabase maintains sessions by default, making an additional 'Remember Me' checkbox unnecessary for this project.
Korean Source
This article is an English localization of a Korean-language report from BlogScore. Original: [바이브코딩 강좌] 27강. 로그인 구현하기