
Building a Forgejo Git Server with Docker: Part 3 of the AI Development Environment Project

AI Development Environment Setup Project - Part 3
Setting Up a Forgejo Git Server with Docker
Last time, we installed Docker and Docker Compose on Ubuntu Server.
Now it's time to set up the core component of our AI development environment: a Git server.
While many developers use GitHub, this project focuses on building a self-hosted Git server within your own infrastructure.
The reason is simple:
In an era where AI directly modifies projects, having a secure space to manage your source code is essential.
Why Do You Need a Git Server?
You can develop without Git initially—just edit and save files.
But as projects grow, you'll face issues like:
Forgetting which files were modified
Sudden breakage of existing features
AI-generated code causing errors
Needing to revert to previous versions
This is where Git becomes your best safety net.
For example, imagine Claude Code modified a forum feature:
Original code

↓

Claude's modification

↓

Error occurs

↓

Git Rollback

↓

Recovery in 1 minute
This is the main reason to use Git.
Why Forgejo Instead of GitHub?
Many think of GitHub when they hear 'Git,' but Git and GitHub are different concepts.
Git is a version control system,
while GitHub is a service that hosts Git repositories.
This project uses Forgejo instead of GitHub for these reasons:
No source code leaves your infrastructure
Hosted directly on your server
No repository count limits
Free to use
Easily installed via Docker
Works well with Claude Code
In short, you can create a powerful Git environment without GitHub.
This Project's Git Structure
We'll use the following structure in this series:
Development PC

↓

Claude Code

↓

Forgejo Git Server

↓

BlogScore (Personal Web Service)

↓

PohangInfo (Personal Web Service)


↓

Node.js Scheduler

↓

ChordTool (Personal Web Service)
All future projects will be managed through Forgejo.
Preparing Docker Compose
First, create a working directory for Forgejo:
sudo mkdir -p /opt/forgejoNavigate to the directory:
cd /opt/forgejo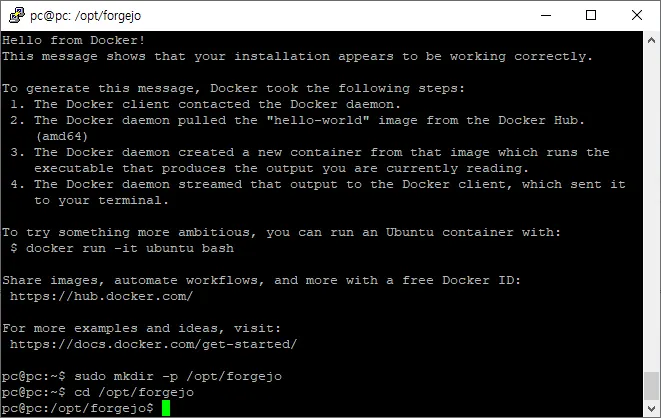
Creating docker-compose.yml
Create a new file:
sudo vi docker-compose.ymlAdd the following configuration:
services:
  forgejo:
    image: codeberg.org/forgejo/forgejo:11
    container_name: forgejo
    restart: unless-stopped

    ports:
      - "3000:3000"
      - "2222:22"

    environment:
      USER_UID: 1000
      USER_GID: 1000
      TZ: Asia/Seoul

    volumes:
      - ./data:/data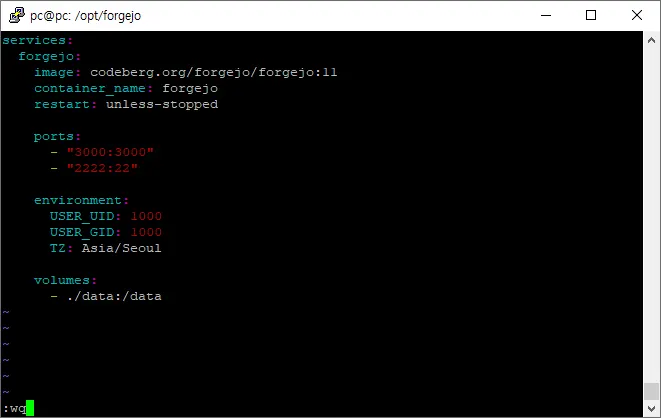
Save and exit.
Starting Forgejo
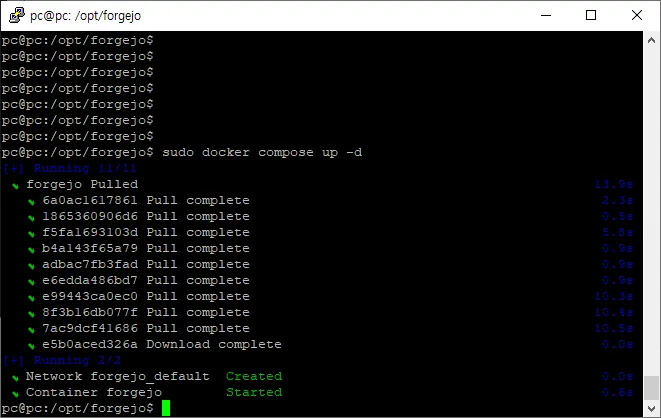
Run this command to start Forgejo:
sudo docker compose up -dDocker will automatically download the image and launch Forgejo.
Verification
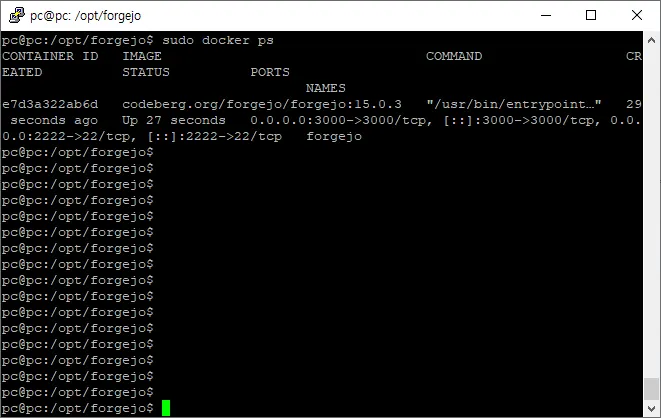
Check if the container is running properly:
sudo docker psIf successful, you'll see the Forgejo container listed.
Add this section right before "Creating docker-compose.yml" in your existing outline for smooth flow:
Preparing MySQL Database
While Forgejo can use SQLite, we'll connect to an existing MySQL server (192.168.0.5) for this project.
First, access your MySQL server:
mysql -h 192.168.0.5 -u root -pCreate a database for Forgejo:
CREATE DATABASE forgejo
CHARACTER SET utf8mb4
COLLATE utf8mb4_unicode_ci;
Create a dedicated user account:
CREATE USER 'forgejo'@'192.168.0.33'
IDENTIFIED BY 'password';
192.168.0.33 is your Ubuntu Server's IP address where Forgejo will be installed.
Adjust this to match your environment.
Grant the user database privileges:
GRANT ALL PRIVILEGES
ON forgejo.*
TO 'forgejo'@'192.168.0.33';

FLUSH PRIVILEGES;
Your MySQL setup is complete once these steps are done.
Add this section right before "Creating the First Admin Account" in your outline:
Connecting to MySQL Database
Access Forgejo's setup screen via browser at:
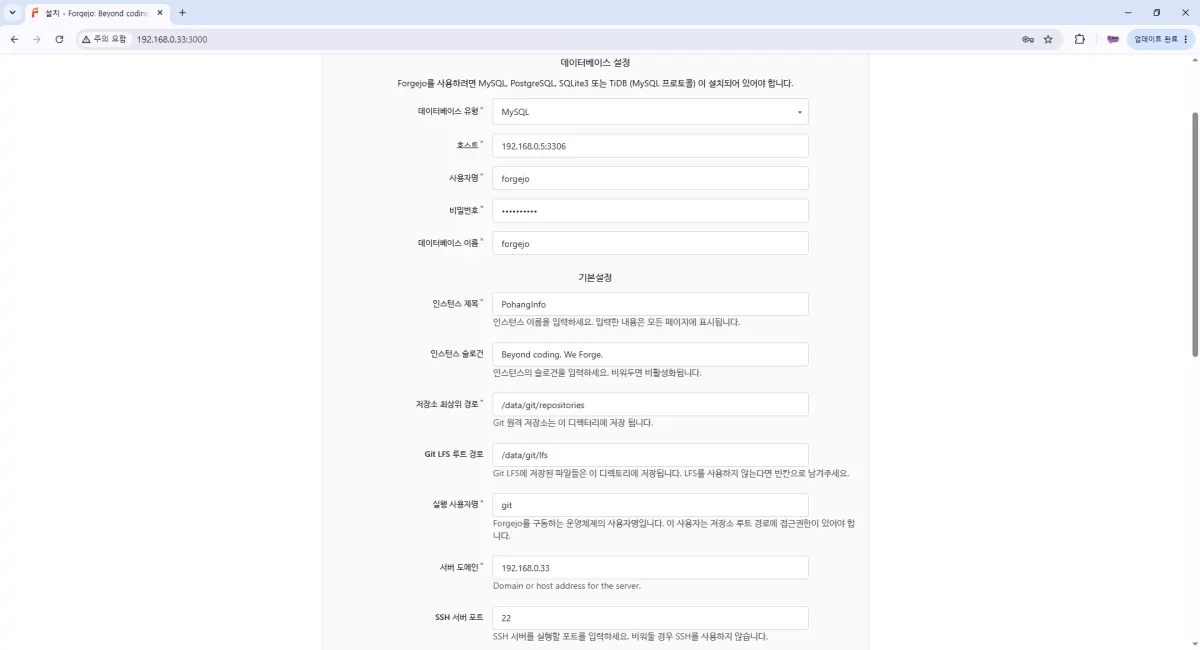
http://192.168.0.33:3000Since we're using MySQL instead of SQLite, enter the following details:
Field | Value |
|---|---|
Database Type | MySQL |
Host | 192.168.0.5:3306 |
Username | forgejo |
Password | Your password |
Database | forgejo |
SSL | Disable |
Click Install Forgejo to complete setup.
Accessing the Web Interface
Open your browser and go to:
http://serverIP:3000For example:
http://192.168.0.33:3000This will show the installation screen.
Creating the First Admin Account
In the setup screen, enter:
Admin account name
Password
Email address
Complete installation and you'll see the login screen.
Creating Your First Repository
After logging in, click New Repository.
Create a repository named:
pohanginfo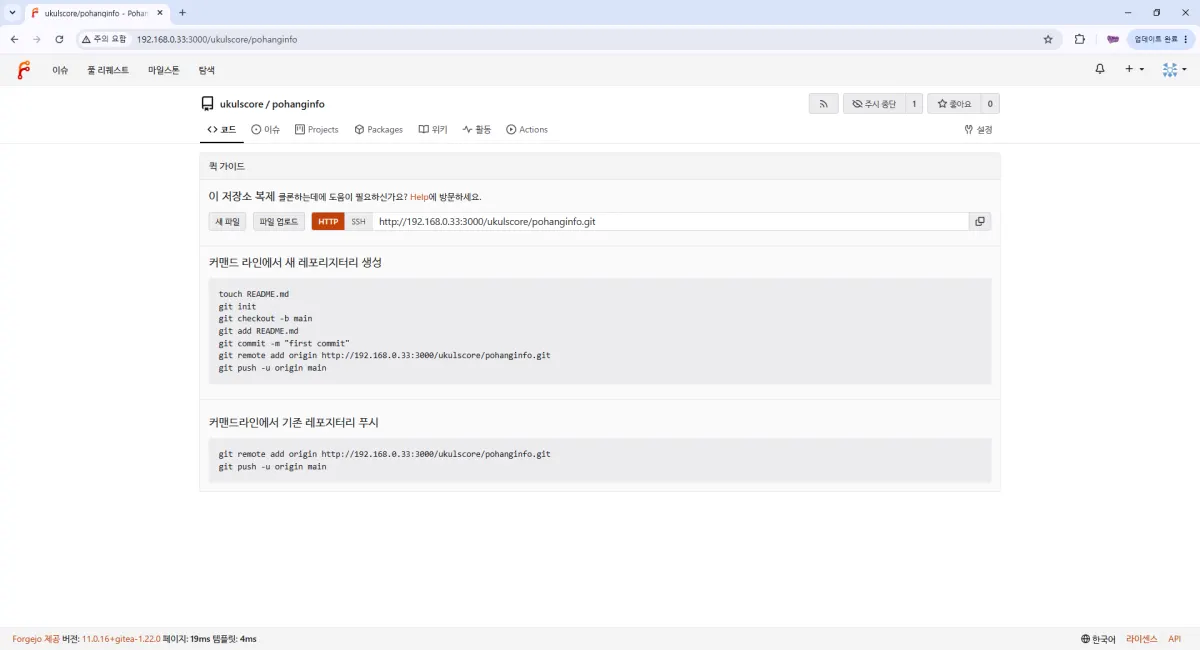
We'll manage all future projects as separate repositories:
blogscore
scheduler
chordtool
Now That Your Git Server Is Ready
From now on, you'll commit changes to Git before modifying projects.
The workflow will look like this:
Project modification

↓

Commit

↓

Claude Code modifications

↓

Testing

↓

Verification

↓

Production deployment
You'll always be able to revert to previous versions if AI causes issues.
How We'll Use Git Going Forward
This project will use Git in these ways:
Branch Creation
Work on features using separate branches.
Committing Changes
Save your work periodically.
Difference Checking (Diff)
Review changes before committing.
Rollback
Revert to previous states if issues arise.
The importance of Git grows as you develop with AI.
What You Can Do With Forgejo Ready
You can now manage all projects through a single Git server:
Forgejo

├── BlogScore

├── PohangInfo

├── ChordTool

├── Scheduler

└── Other Projects
Your source code stays secure within your server, never exposed externally.
Summary of This Lesson
In this lesson, we set up a Forgejo Git server using Docker.
This Git server will store all change history for AI-modified projects and allow you to revert to previous versions if issues arise.
In the AI era, managing change history is as important as writing code itself.
Forgejo serves as the central service enabling this workflow.
Next Lesson Preview
AI Development Environment Setup Project - Part 4
Managing Existing Projects with Git
Registering BlogScore
Git Init
First Commit
Creating Branches
Pushing Changes
Cloning Repositories
Rollback Practice
FAQ
What is Forgejo?
Forgejo is an open-source Git service similar to GitHub but designed for self-hosting, allowing secure management of code repositories within your own infrastructure.
Why use a self-hosted Git server instead of GitHub?
A self-hosted solution keeps source code internal, avoids repository limits, and provides full control over data security—critical for AI-driven development where code modifications need safe management.
Korean Source
This article is an English localization of a Korean-language report from BlogScore. Original: [AI 개발환경 구축 프로젝트] 3강 Docker로 Forgejo Git 서버 구축하기