
Building a Chat UI with HTML and CSS - Node.js Tutorial
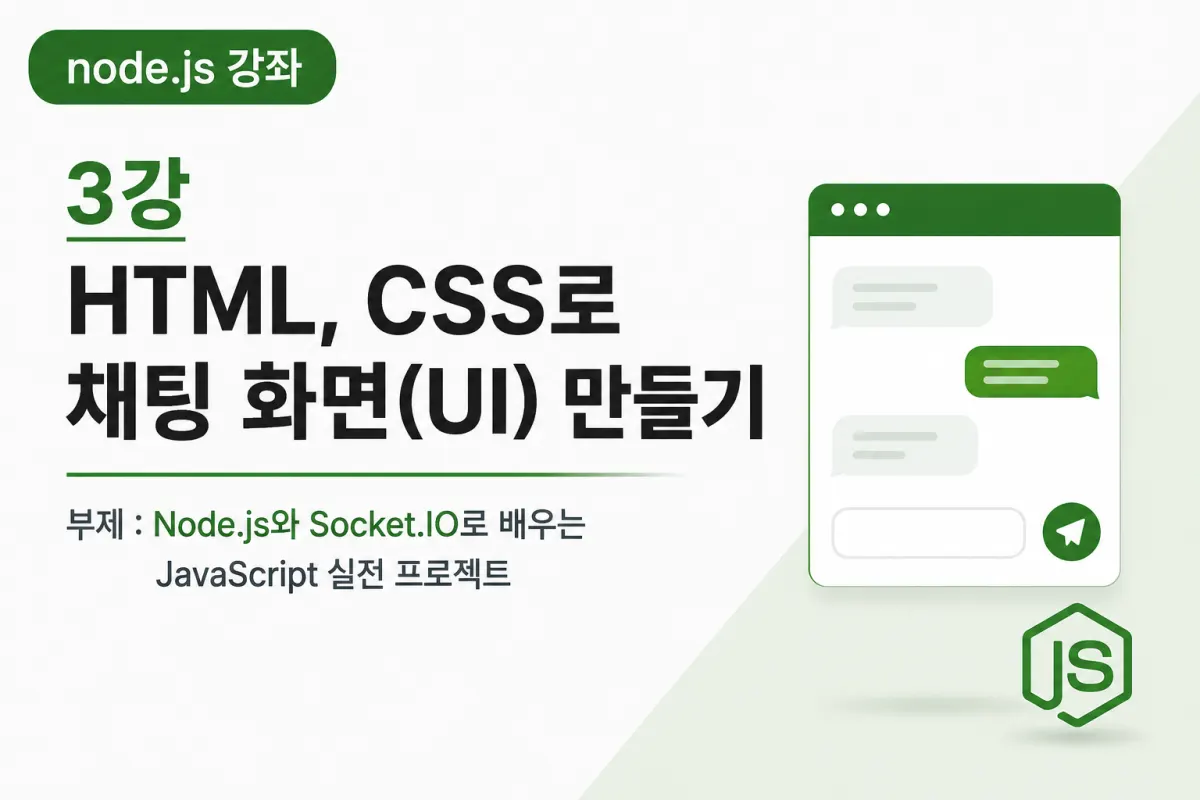
Welcome
Last time, we created our first web server using Express.
Now that the server is ready, let's create the actual user interface that people will interact with.
This lesson doesn't implement real-time chat functionality yet.
Instead, we'll build the basic chat screen layout - including the message display area, input field, and send button.
Just like how foundation work is crucial when building a structure, creating the visual layout comes first in web development.
How Should the Chat Screen Be Structured?
The majority of messaging apps we use have similar structures.
Typically, they include these elements:
Title area at the top
Area displaying chat content
Message input field
Send button
We'll start with a simple structure and add features incrementally in future lessons.
Setting Up Project Folder Structure
It's best to organize HTML, CSS, and JavaScript files separately for web projects.
Let's set up our project like this:
chat-project
│
├── server.js
├── package.json
│
├── public
│   ├── css
│   │      └── style.css
│   │
│   └── js
│          └── main.js
│
└── views
       └── index.html
As projects grow, maintaining organized file structure becomes increasingly important.
Using Static Files in Express
To make CSS and JavaScript files available to browsers, we need to register them with Express.
Add this line to your server.js file:
app.use(express.static("public"));
This single line allows you to freely use CSS and JavaScript files inside the public folder.
In Express, these are called static files.
Creating HTML Structure
First, create index.html file.
HTML provides the skeleton of a webpage.
We'll start with this basic structure:
<!DOCTYPE html>
<html lang="en"
>
<head>
    <meta charset="UTF-8">
    <title>Real-Time Chat</title>

    <link rel="stylesheet" href="/css/style.css">
</head>

<body>

</body>
</html>
It's empty now but we'll add various elements as we progress.
Creating Chat Screen Layout
A chat screen needs three main sections:
The first is the title area, for example displaying "Real-Time Chat".
The second is the message display area where messages will accumulate as users send them.
The third is the input field where users type their messages and click the send button.
Why Use CSS?
You can create a basic screen with HTML alone, but without CSS, it will lack styling.
CSS handles:
Font size
Colors
Margins and padding
Backgrounds
Button design
Layout
CSS is crucial not only for making things look good but also for creating user-friendly interfaces.
What Is Flexbox?
This project will use CSS Flexbox to layout the screen.
With Flexbox, you can easily implement:
Horizontal alignment
Vertical alignment
Centering elements
Automatic space distribution
Most modern websites use Flexbox or Grid for layout construction.
In this lesson, we'll use Flexbox to organize our chat screen.
Creating Message Display Area
The message display area will occupy most of the screen space.
Currently empty but it will eventually show:
Your messages
Other user's messages
Join notifications
Leave notifications
Images
Files
So it should have sufficient height with scroll capability.
Creating Input Field
The input field is the most frequently used part of a chat service.
Users will type messages here and click send button below it.
In future lessons, we'll add features like:
Send on Enter key press
Auto focus
Input limits
Designing the Send Button
The send button is one of the most clicked elements.
So it should be designed to stand out visually.
You can enhance user experience by adding:
Background color
Rounded corners
Mouse hover effects
Click effects
Considering Responsive Design
Today, people use chat services on both computers and smartphones.
It's best to consider responsive design from the start.
We'll develop a habit of writing CSS that will naturally adapt when screen sizes change.
What Will the Screen Look Like Next?
Tonight we're building a basic UI, but future lessons will add many features:
User list
Multiple chat rooms
Image previews
File uploads
Emojis
Read receipts
Admin features
The UI we're creating today will serve as the foundation for all future functionality.
Lesson Summary
This lesson covered building the basic chat interface using HTML and CSS, organizing project structure, and learning how to use CSS and JavaScript files with Express.
We've created a static screen that will serve as the foundation for implementing real-time communication in future lessons using Socket.IO.
Next Lesson Preview
In the next lesson, we'll install Socket.IO and understand how to establish real-time communication between server and browser.
This will be our first step toward enabling users and servers to exchange data in real time.
FAQ
What is the purpose of static files in Express?
Static files like CSS and JavaScript are served directly by the server without processing, making them available for browser use.
Why is Flexbox important for layout?
Flexbox simplifies creating responsive layouts with easy alignment options and automatic space distribution.
Korean Source
This article is an English localization of a Korean-language report from BlogScore. Original: [Node.JS 강좌] 3강 HTML, CSS로 채팅 화면(UI) 만들기