
Building an AI Development Environment on Proxmox: Creating a Dedicated Ubuntu VM

AI Development Environment Setup Project: Episode 1
Creating an AI Development-Specific Ubuntu VM on Proxmox
As AI-assisted development becomes increasingly common, the approach is evolving beyond simply asking AI to write code. Instead, AI is now being used to analyze and modify projects directly.
However, connecting AI directly to production servers can be risky. Incorrect code modifications or configuration changes could lead to service outages.
This project aims to create a completely isolated AI development environment separate from production servers.
In this article, we'll walk through the first step: creating an Ubuntu Server VM on Proxmox.
[Image 1: Overall architecture of the completed AI development environment]
Why Do You Need a Dedicated Development VM?
Many developers work directly on production servers.
While this works for small projects, it's safer to separate development and production environments when AI is modifying projects directly.
A dedicated development VM offers these advantages:
Completely isolated environment from production servers
Freedom to test without risk
Ability to install Docker, Git, and MCP for practice
If issues arise, you can simply delete the VM and recreate it
Restore from Proxmox snapshots at any time
The main goal is to create an environment where you can experiment freely without fear of failure.
Project Configuration Overview
This series aims for the following structure:
Proxmox
│
├── AI Development VM
│   ├── Ubuntu Server
│   ├── Docker
│   ├── Forgejo (Git)
│   ├── Claude Code
│   ├── MCP Server
│   └── Test Project
│
└── Production Server
    ├── PHP
    ├── Node.js
    ├── MySQL
    └── Live Service
Development will occur in the AI Development VM, with verified changes later applied to production servers.
Why Ubuntu Server?
While there are many Linux distributions, this project uses Ubuntu Server LTS.
The reasons include:
Excellent Docker support
Well-suited for the Claude Code environment
Abundant MCP-related resources available
Easier setup for Node.js and PHP development environments
Long-Term Support (LTS) provided
This makes Ubuntu Server the most practical choice for installing Docker, Git, and Claude Code.
What VM Specifications Do You Need?
You don't need high-end hardware from the start.
The recommended basic specifications are:
Item | Recommended Specification |
|---|---|
CPU | 2-4 Cores |
Memory | 4-8GB |
SSD | 80-120GB |
Operating System | Ubuntu Server LTS |
Network | Bridge Mode |
This configuration is sufficient for running Docker containers, Git server, and Claude Code together.
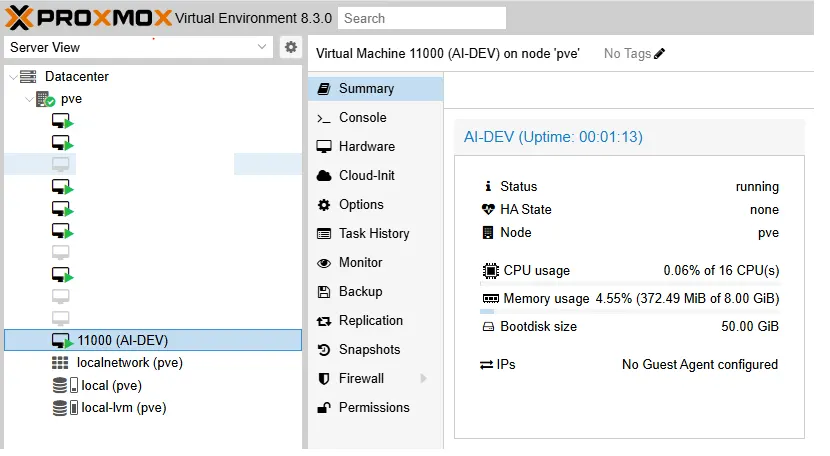
Creating the VM
Create a new VM in Proxmox management interface.
Configure as follows:
VM Name
ai-dev
Operating System
Select Ubuntu Server LTS ISO
CPU
2 Cores or more
Memory
4GB or more
Disk
SSD 50GB
Network
Bridge Mode
After VM creation, install Ubuntu Server.
First Steps After Ubuntu Installation
Connect via SSH after installation is complete.
First, update the system to the latest state:
sudo apt update
sudo apt upgrade -y
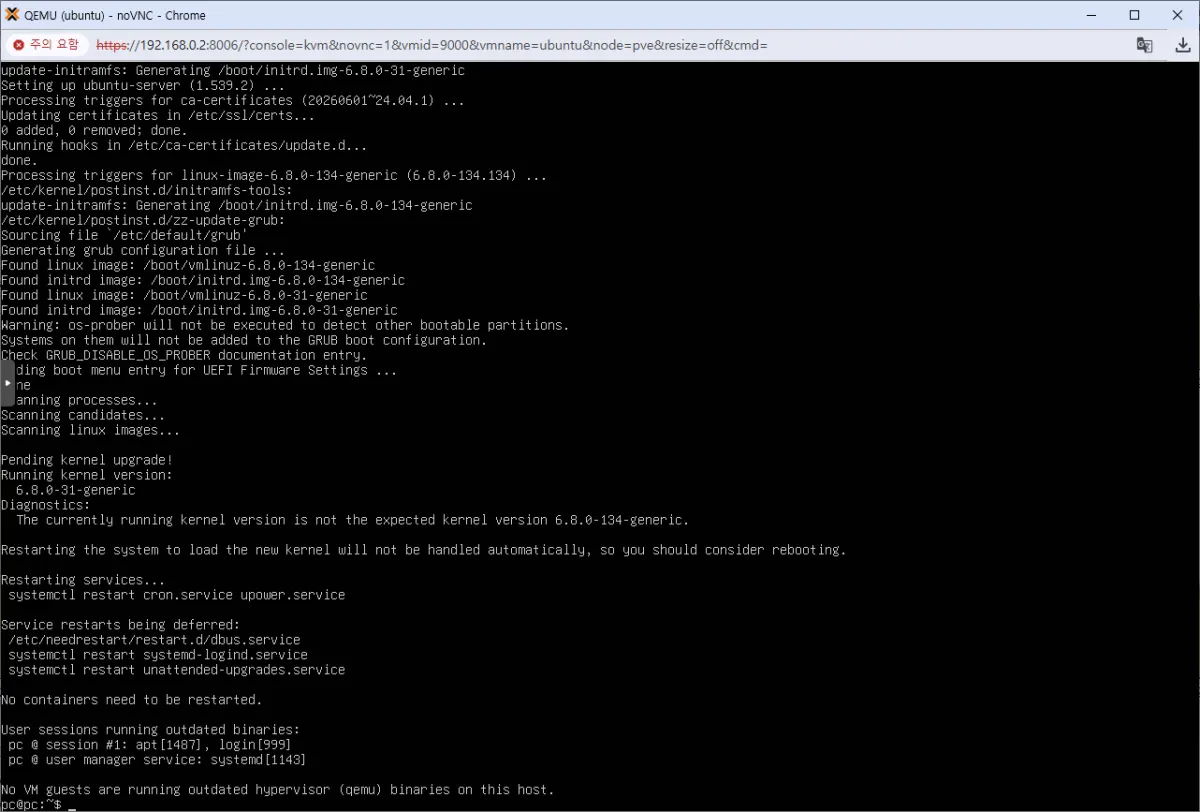
Then reboot the system:
sudo reboot
It's always best to work with updated packages when setting up your development environment.
Setting a Static IP
A fixed IP makes development server management easier, as it won't change.
With a static IP, SSH connections and Docker service integrations become more stable.
For example:
192.168.0.33
Setting an internal network IP like this simplifies connecting Git server and MCP Server later.
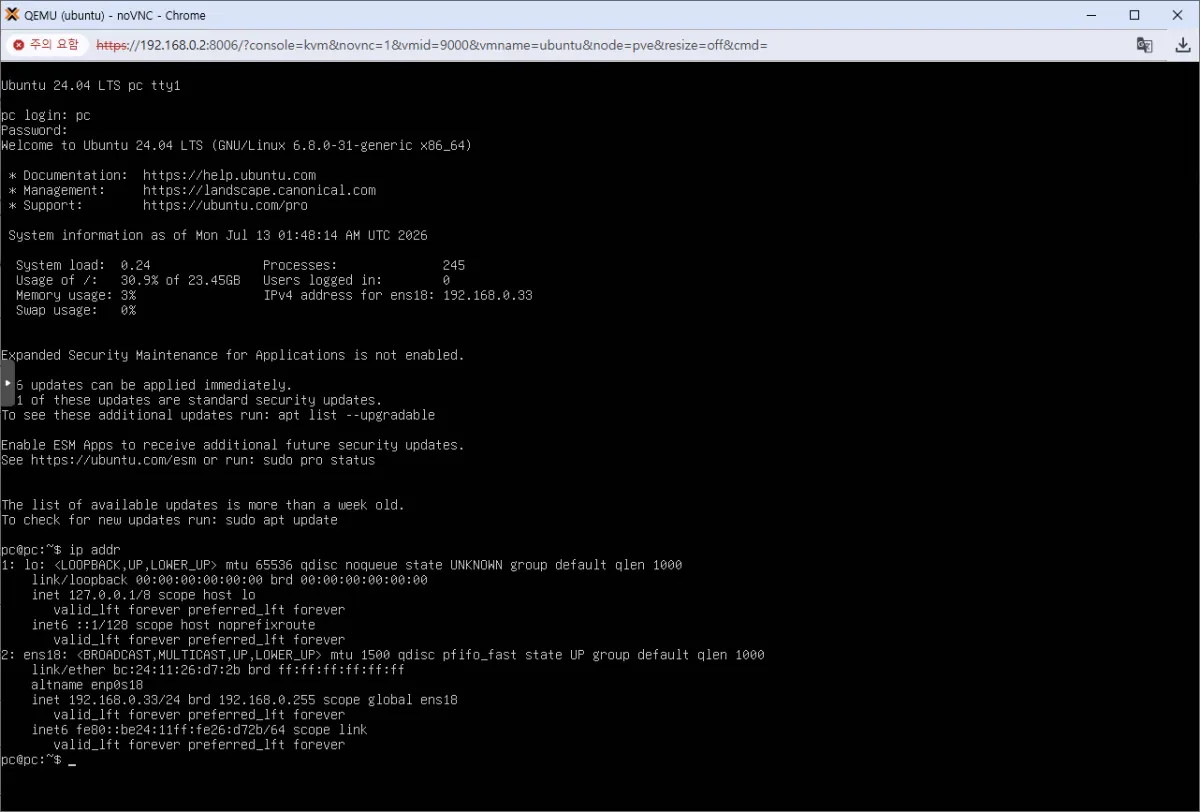
Verifying SSH Connection
On Windows, use Terminal or PuTTY to connect:
ssh user@192.168.0.30
If you can connect successfully, your development environment is ready.
You'll now perform most tasks in the SSH environment.
What's Coming Next?
This article only prepared the Ubuntu Server VM.
In upcoming episodes, we'll build out the full AI development environment.
The following components will be installed:
Docker
Docker Compose
Forgejo Git server
Claude Code
MCP Server
Filesystem MCP
Git MCP
MySQL MCP
Playwright
All these components will be built around Docker, one by one.
Conclusion
In the AI era, creating a safely configured development environment where AI can work without risk is becoming increasingly important.
This first episode covered setting up an Ubuntu-based AI development VM on Proxmox as the initial step.
The next episode will focus on installing Docker and Docker Compose to create a containerized environment for all services moving forward.
Next Episode Preview
AI Development Environment Setup Project: Episode 2
Installing Docker and Docker Compose
Docker installation
Docker Compose installation
Running your first container
Understanding Docker basics
FAQ
Why separate development and production environments?
To prevent potential service outages caused by incorrect AI modifications or configuration changes in the production environment.
What OS is recommended for this project?
Ubuntu Server LTS, chosen for its Docker support, compatibility with Claude Code, and long-term maintenance.
Korean Source
This article is an English localization of a Korean-language report from BlogScore. Original: [AI 개발환경 구축 프로젝트] 1강 Proxmox에 AI 개발 전용 Ubuntu VM 만들기